

The mid-week shipment workflow exists because invoice files and physical product don't always arrive together. A box (or eight) shows up Friday afternoon with no distributor invoice available yet. You still need to get books on the shelf and into customer pulls — this article covers that case.
Everything is the same as a normal weekly check-in, except you skip the invoice-upload step and add items manually instead. A reconciling invoice for these items will usually arrive 2–3 weeks later from the distributor. When it does, use the Ignore action during that weekly check-in to prevent duplicate entries.
Step 1 — Open Check-In
Open the Manage Comics app.
Click Check-In in the sidebar.
The page will expect invoice uploads — which you don't have.
Click Next.
If there's leftover data from a previous session, click Start Over first to clear it.
Step 2 — Add Items Manually
Click Find Additional Items.
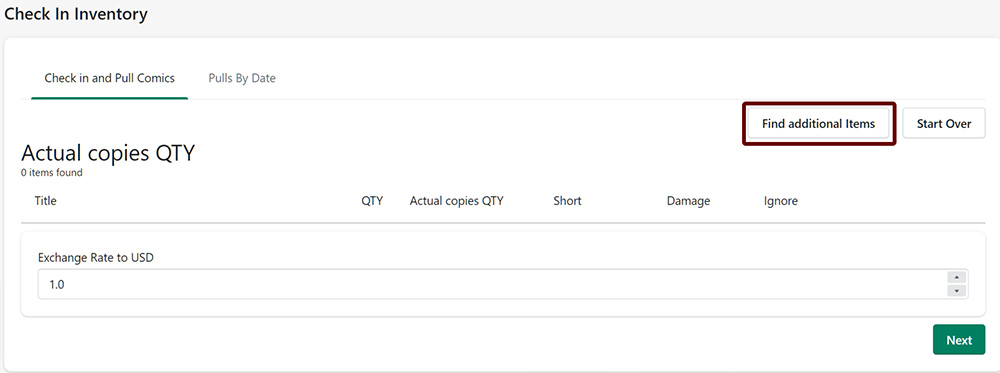
For each item, either:
Scan the barcode (recommended — faster and error-free), or
Type the title and search.
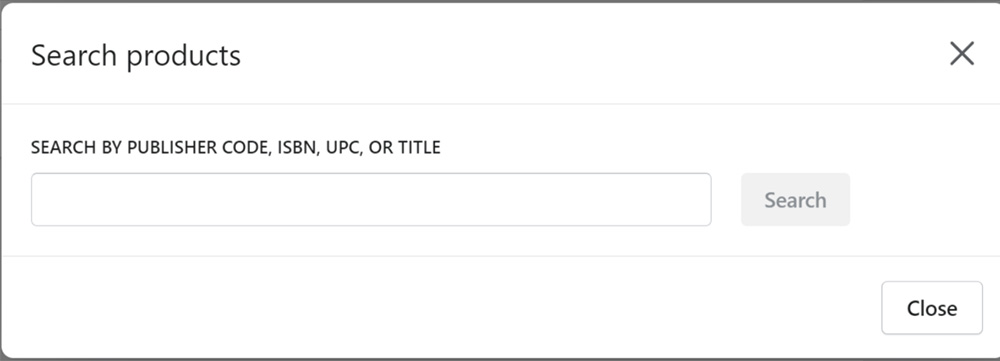
Why barcode scanning is better for mid-week shipments: mid-week shipments often include reprints, which sometimes have updated barcodes the system hasn't seen before. Scanning picks those up accurately. If the barcode doesn't match, try trimming the last few digits, or search for a shorter portion of the title.
Adjust quantity as needed.
Click Add.
Repeat for each item. No need to close the popup until you're done — just keep scanning.
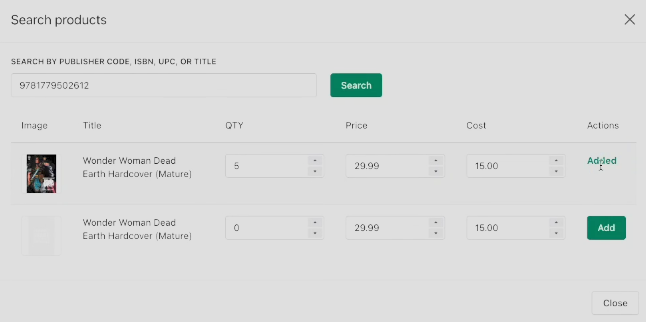
Step 3 — Mark Damages
After adding everything, mark any damaged items. Click Next when done.
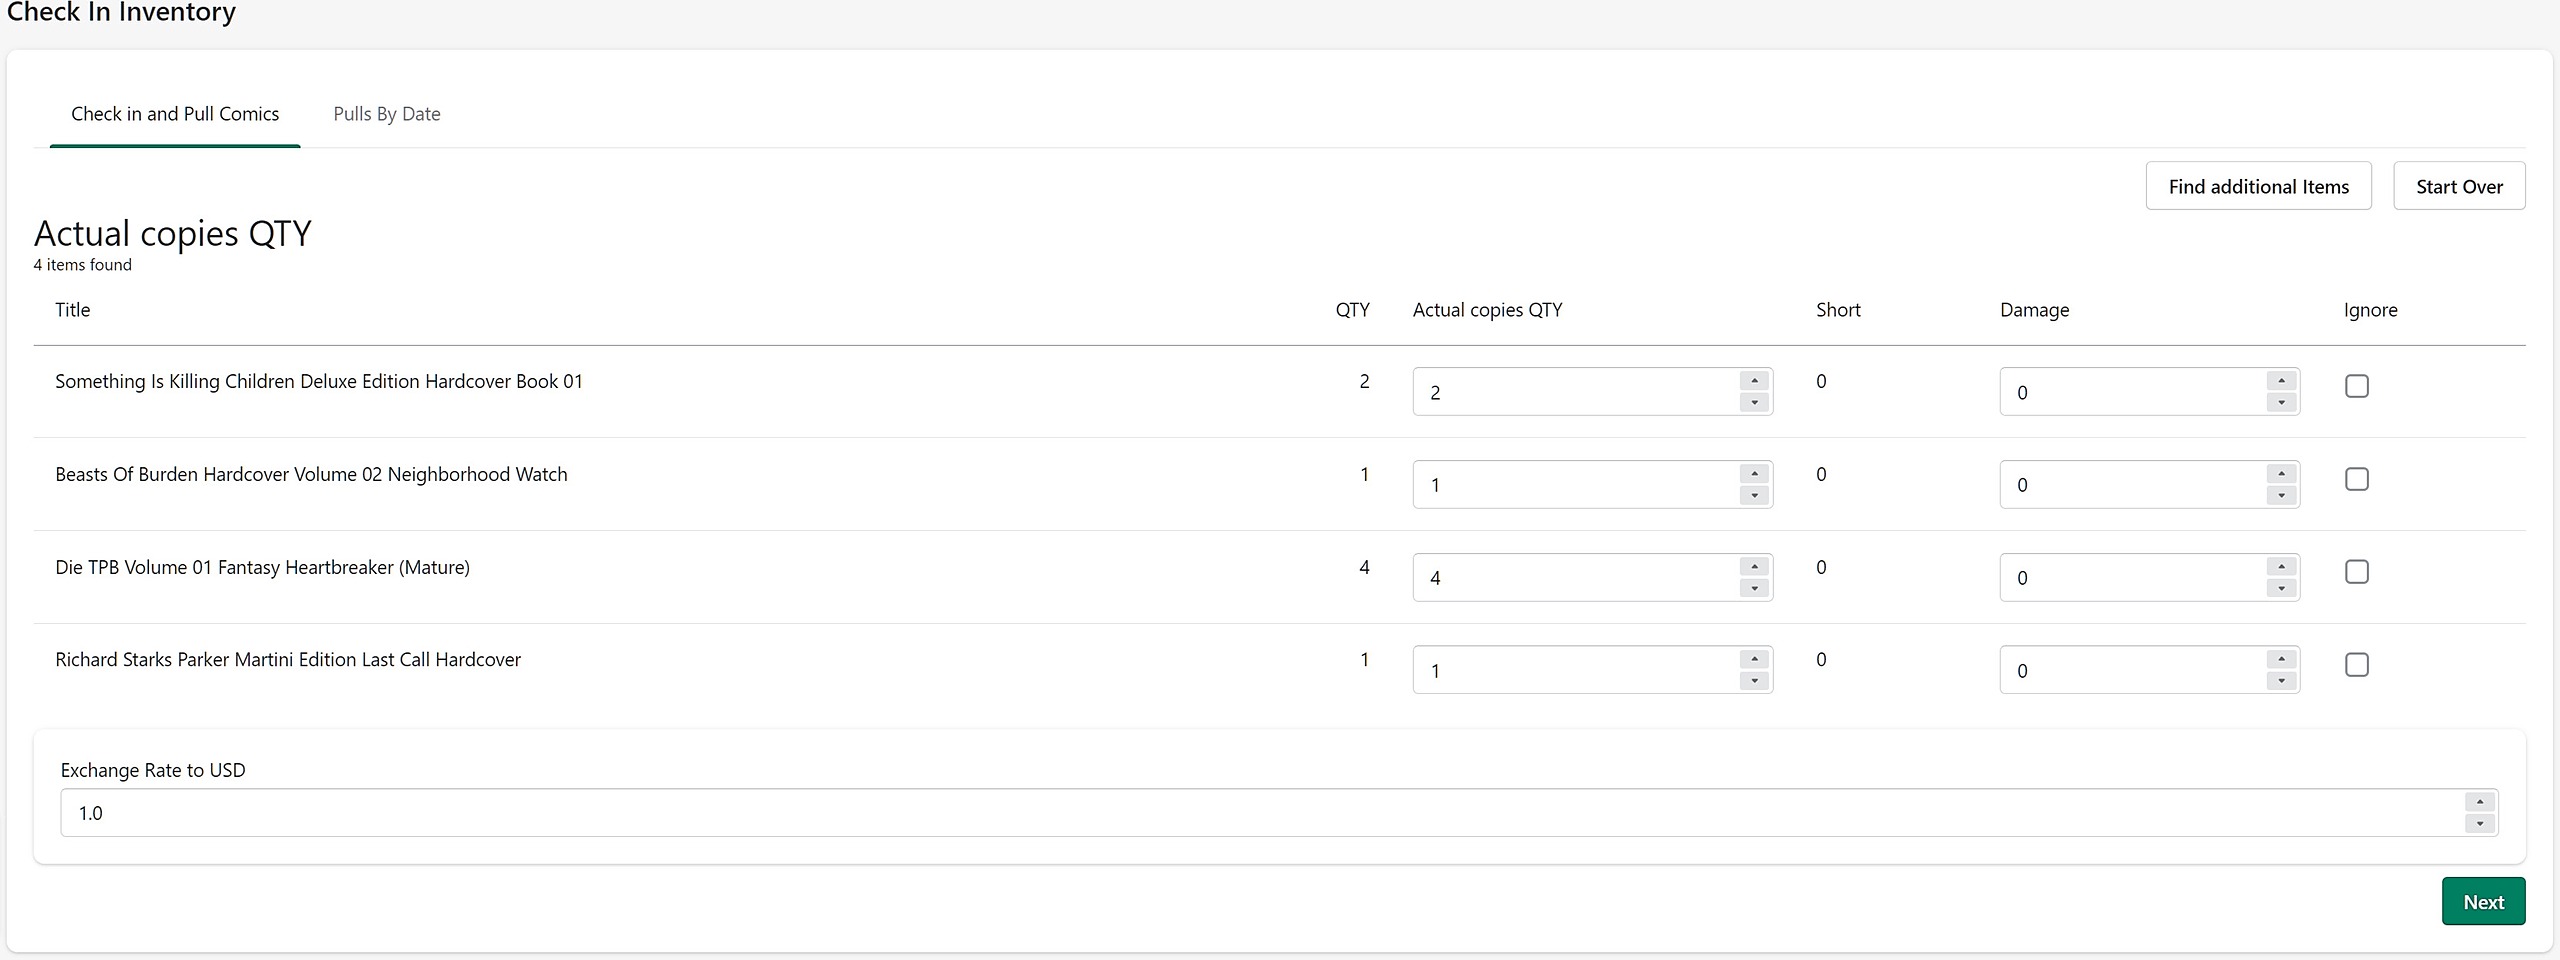
Step 4 — Review Subscriber Allocation
The Subscribed column populates for any items with active subs or pre-orders. Check the box on each item you want to allocate to those customers. Use the pencil icon to adjust price on any item.
Click Next.
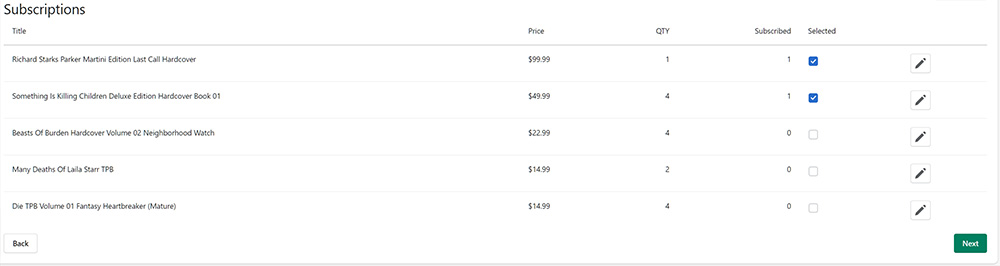
Step 5 — Configure Store Import
Decide how many copies go to the storefront. Add any tags (same rules as the weekly check-in — match your New Releases collection tag if you use one). Click Next.
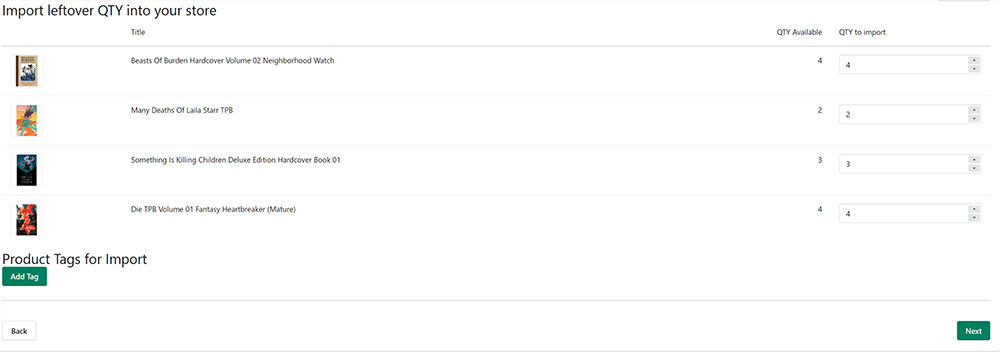
Step 6 — Confirm and Pull
If there are customer pulls, click Confirm Pull. If not, just click Next.
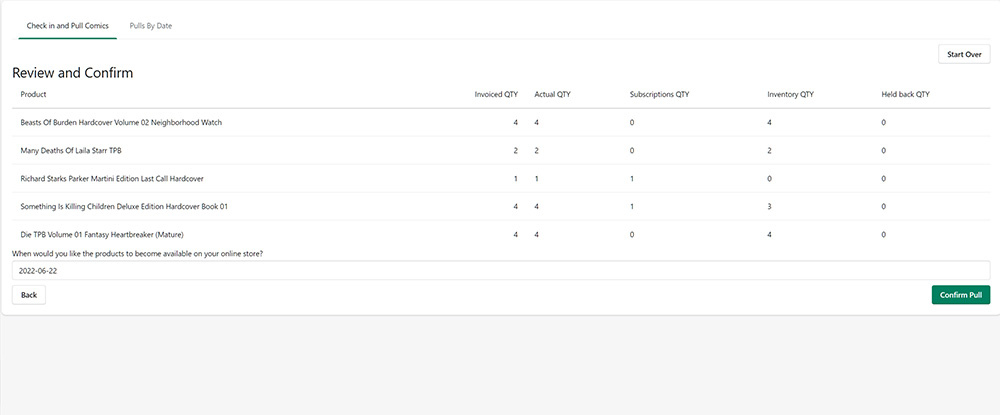
If you confirmed a pull, you'll see your pull summary with customer names and items. (Many shops Ctrl-P this page to print a record for the physical pull files.)

Step 7 — Verify Barcodes (Optional but Recommended)
This step is extra, but it pays off specifically for mid-week shipments:
Go to the Products page in your POS or storefront.
Sort by Updated (newest first) — for Ordo shops, this is in Shopify's product list.
Scan each unique item's barcode into the search bar, one at a time.
Confirm each item comes up cleanly.
This catches new-printing barcode variants before they cause pull failures down the line.
Notes
If you also handle special orders through spreadsheets or other systems outside Manage Comics, check those manually at this point. Manage Comics won't know about them.
All subscription or pre-order items placed through Manage Comics are now assigned to their customers. Invoice them or move them through your normal fulfillment path.