
Multi-location lets a single Manage Comics account manage more than one physical store. You have one database with inventory, subscribers, and orders scoped to each location. This article covers turning it on, adding locations, moving subscribers between them, and removing a location. Day-to-day filtering is covered in Filtering by Location.
The day-to-day experience of multi-location is nearly identical between Ordo and Oryx. The main differences are how you sign up for it and how you are billed. Those differences are noted below.
Pricing
Oryx multi-location is billed at $100 USD per month for the base account plus $80 per month for each additional location. Additionally there is an annual option billed at $1,000 USD per year for the first location and $800 USD per year for each additional location
Ordo multi-location pricing is part of the Manage Comics app subscription in Shopify. Check the current price on the Manage Comics listing in the Shopify App Store, or in Apps → Manage Comics → Subscription & Billing in your Shopify admin.
When multi-location is a good fit
You own two or more physical stores under one business.
You want centralized subscriber management with per-store inventory.
You want to transfer product between locations inside Manage Comics.
When it is not
You run two stores as separate businesses with separate staff. A single shared database can get confusing.
You only have one location.
How to enable multi-location
The path depends on your product:
Ordo: update the Manage Comics app subscription in Shopify to a tier that includes multi-location. Open the Manage Comics app, navigate to Settings → Locations and click Update Subscription. You will be brought to a confirmation page with your new, updated billing amount.
Oryx: Navigate to Settings → Locations. Visit the billing page to upgrade your subscription and add locations.
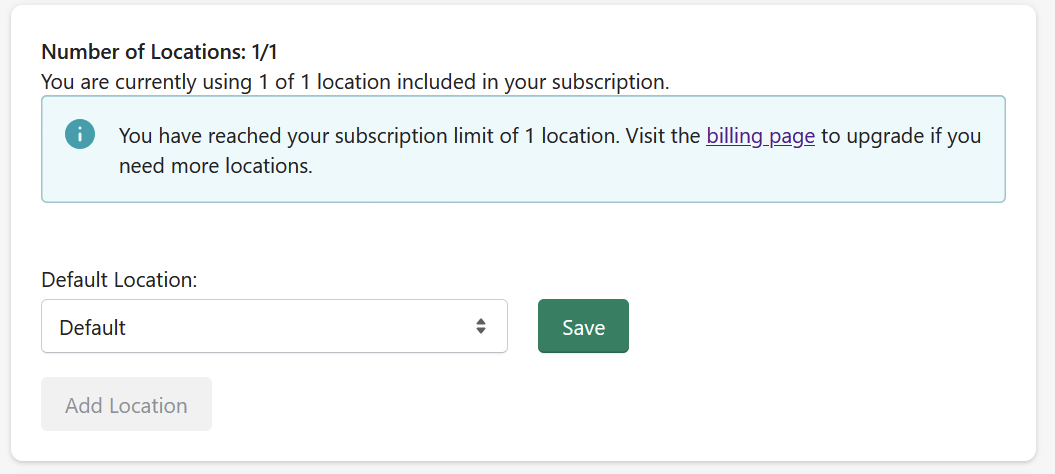
Once enabled:
Go to Settings → Locations.
Click Add Location.
Enter the Name, Address, contact info, and Default shipping type for customers assigned to this location.
Save.
Repeat for each location.
See Locations and Multi-Store Initial Setup for more information.
Assigning customers to locations
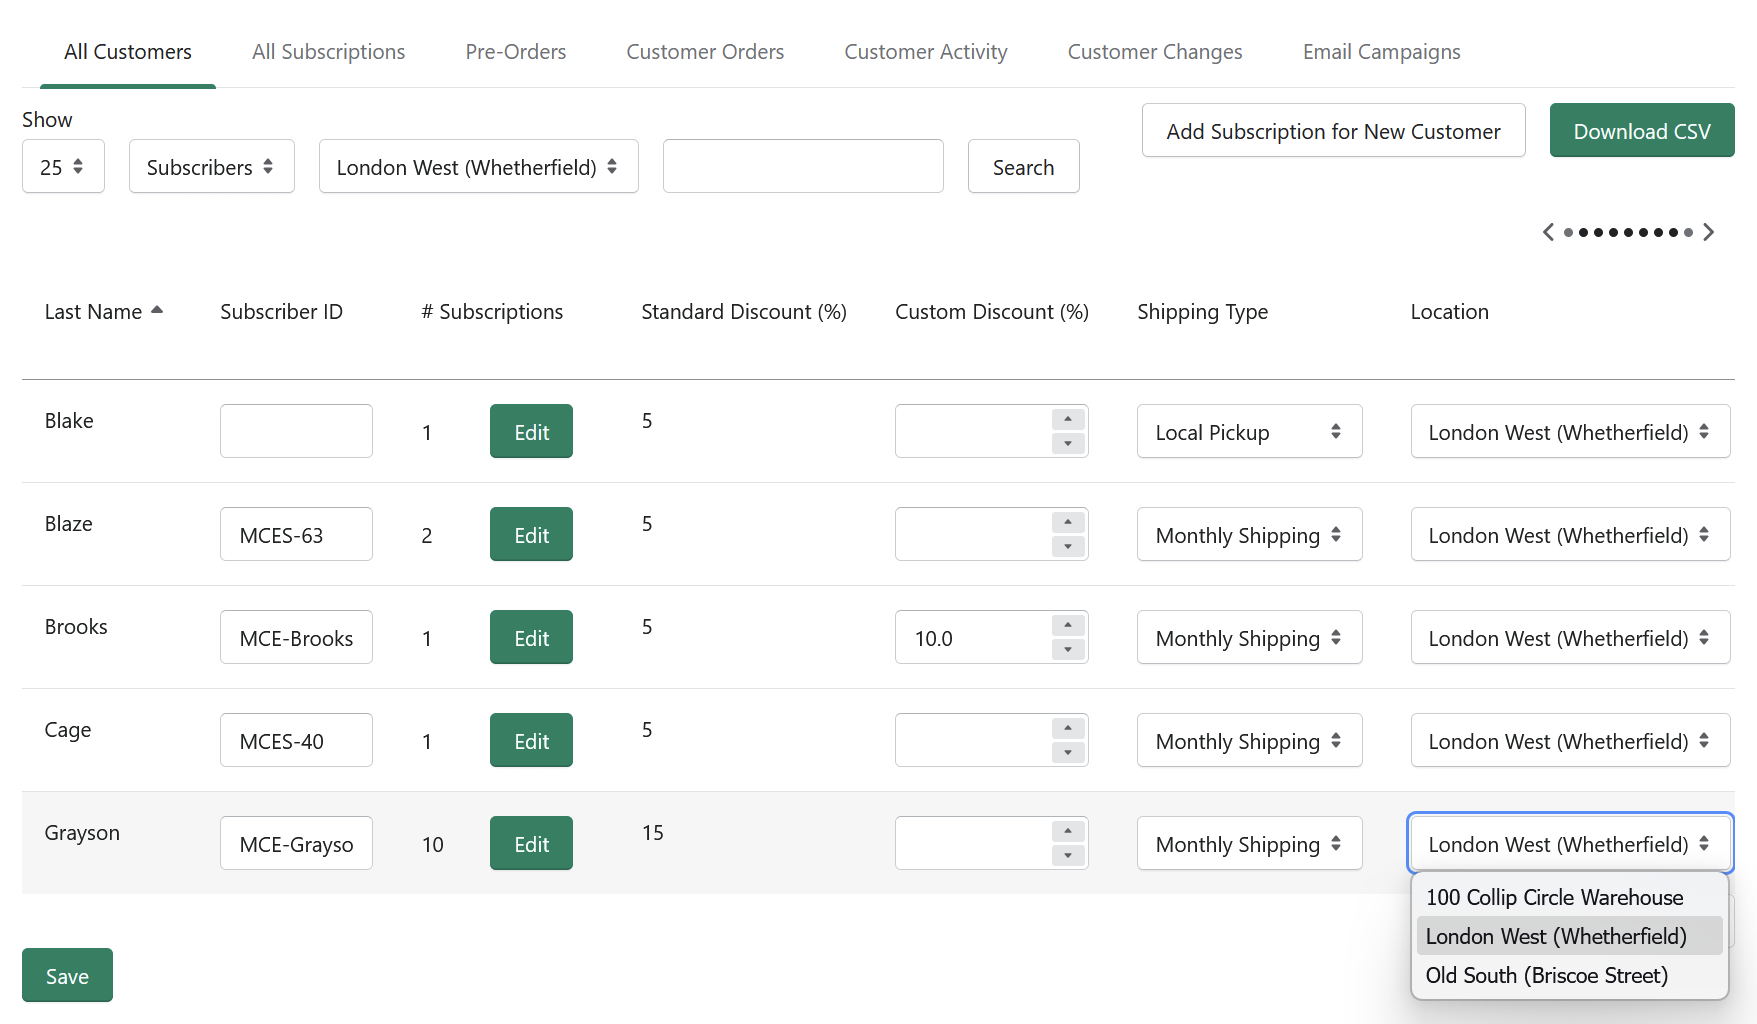
Each customer record has a Location field. When you enable multi-location, existing customers default to your primary location. Assign each new customer to their home location when you create them.
Moving a subscriber between locations
When a customer moves or asks to pick up at a different store, transfer their subscription rather than deleting and recreating it. This keeps their history, reading list, and billing intact.
Open the customer's record and go to the Subscription section.
Change the Location dropdown to the new location.
Review the other fields. Shipping type and any location-specific defaults may need to be adjusted.
Save.
The customer's open pull, credit balance, and subscription settings move with them. Any product already checked into their old pull folder stays at the old location until it is physically transferred or released.
Assigning products to locations (Ordo)
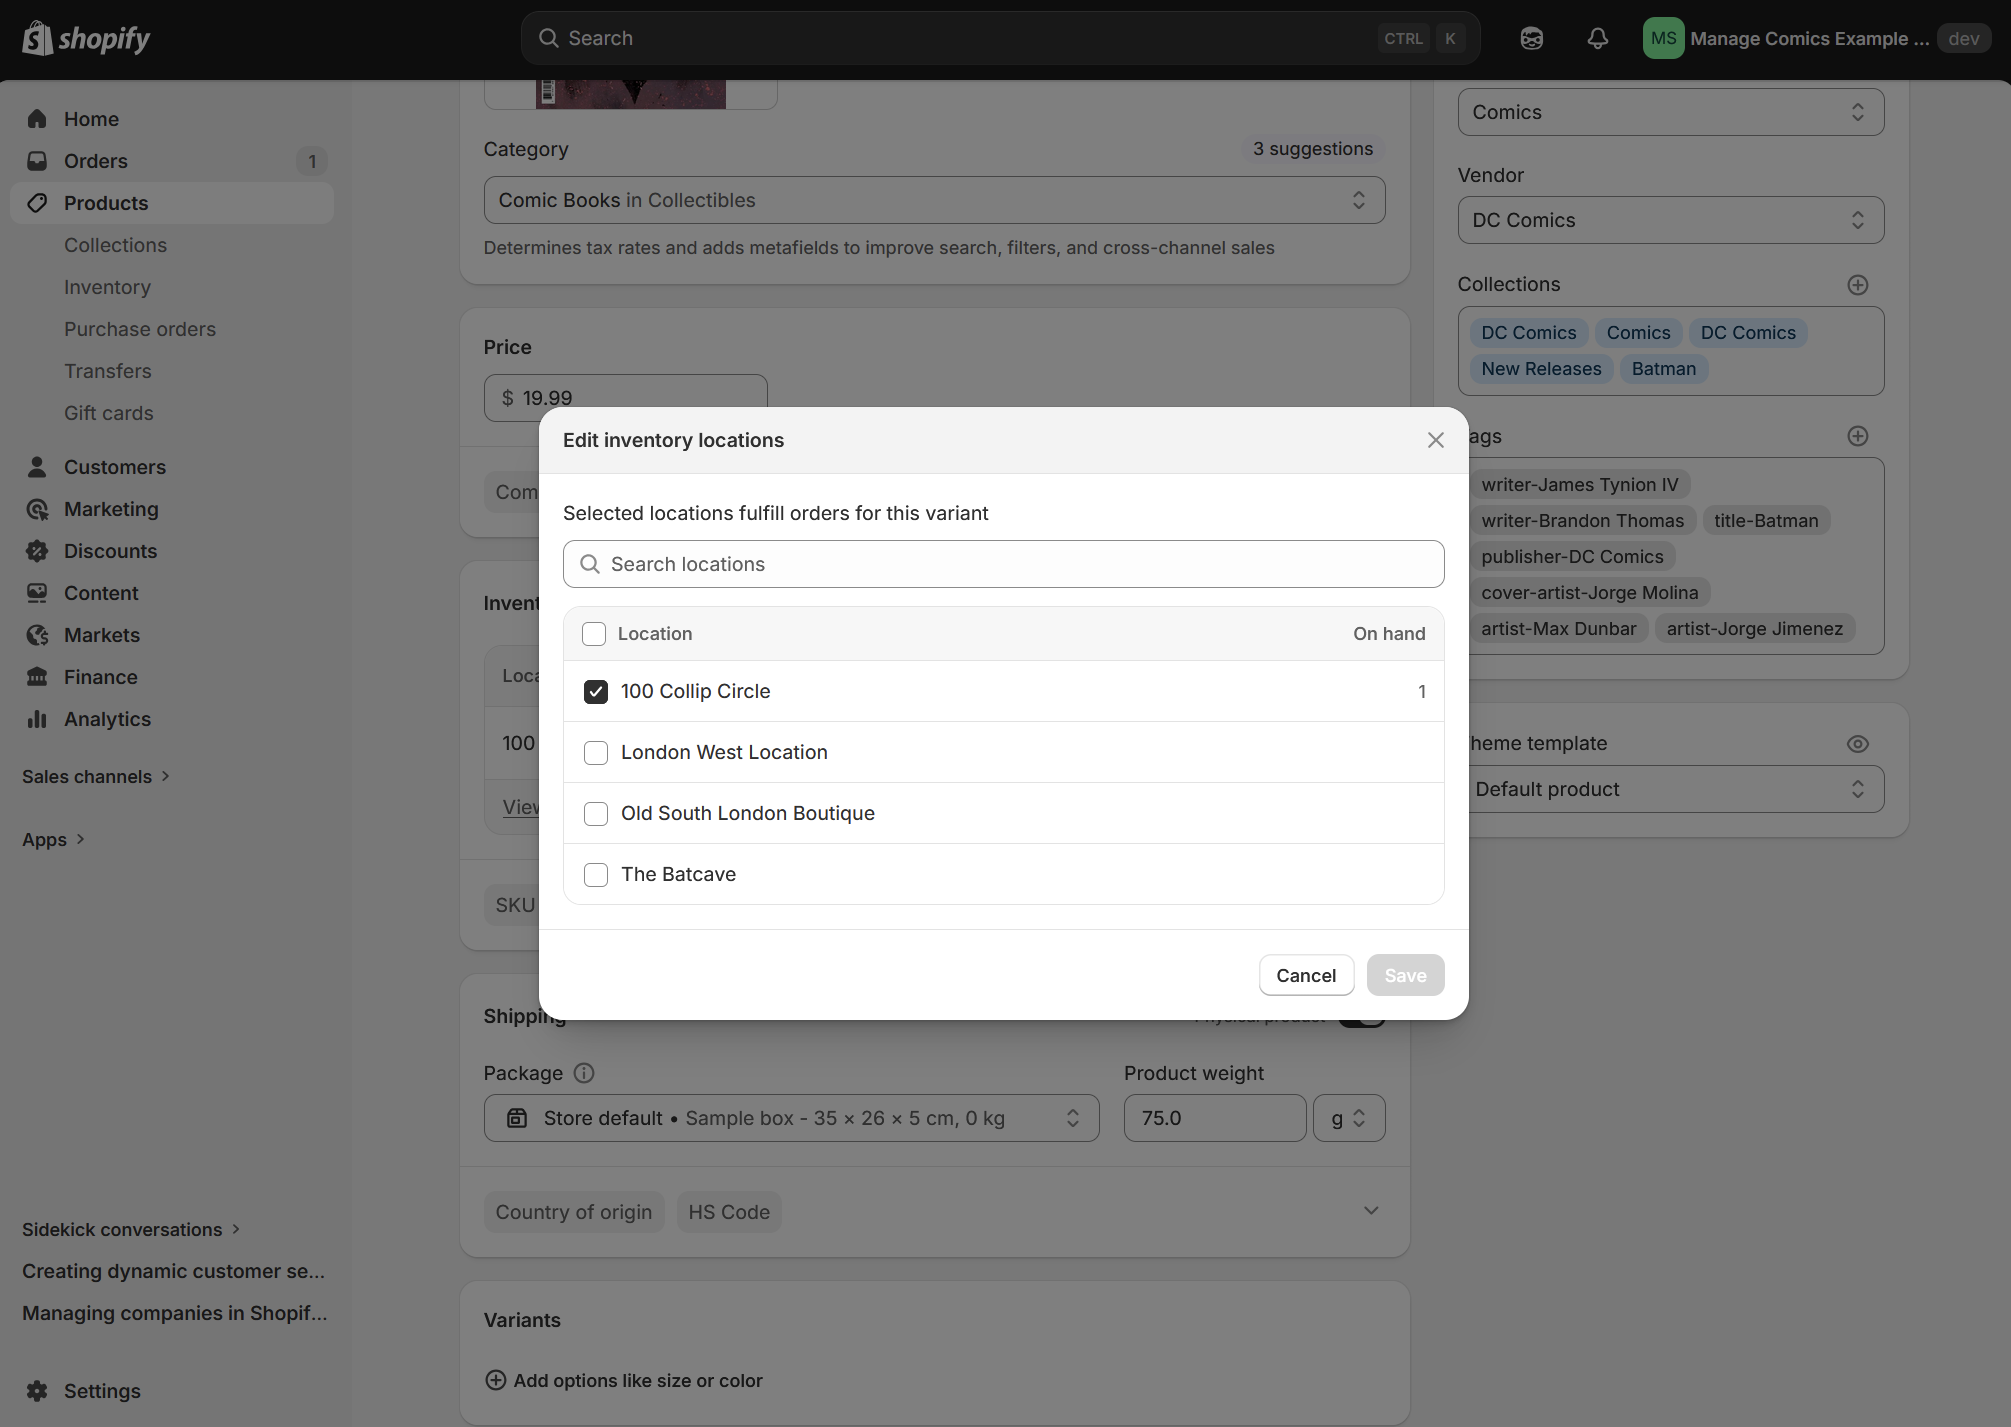
Products can be held at any or all locations, and inventory at each location is tracked separately.
Products are assigned a location during check-in.
Use Shopify's Inventory Transfer tools to move products between stores.
Removing a location
A location can only be removed once it has no active subscribers, no active product, and no pending orders. Before deactivating a location:
Move any remaining stock out with a Transfer, or write it off.
Fulfill or cancel any pending orders tied to the location.
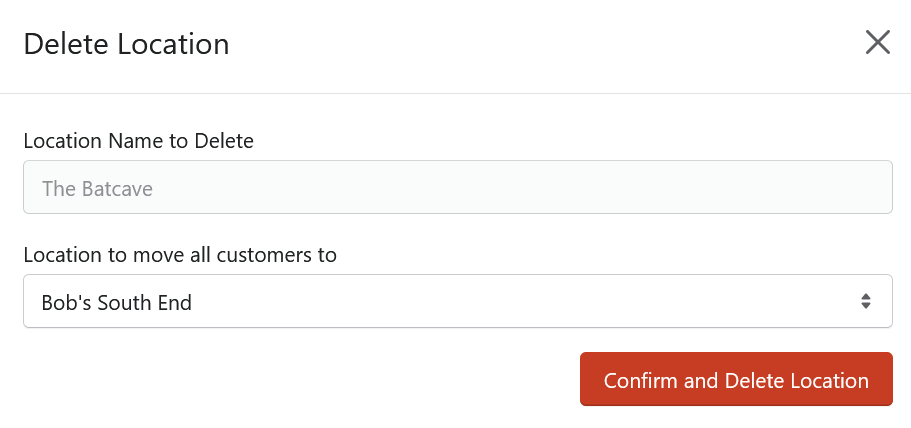
Go to Settings → Locations → [location] → Confirm and Delete Location. The system will prompt you to move all existing customers to a different location.