

Installing Manage Comics 2 Subscriptions on your Shopify store is a one-time process that takes roughly eight minutes. This article walks through every screen you'll see, what to click, and what to expect afterward.
Before You Start
You must be the shop owner or a staff member with permission to install apps on the Shopify store.
You'll need your Shopify admin login ready.
Block out about 15 minutes. The install itself is eight, but you'll want a few minutes on either side for the app embed and a first look.
Step 1 — Open the Install Link
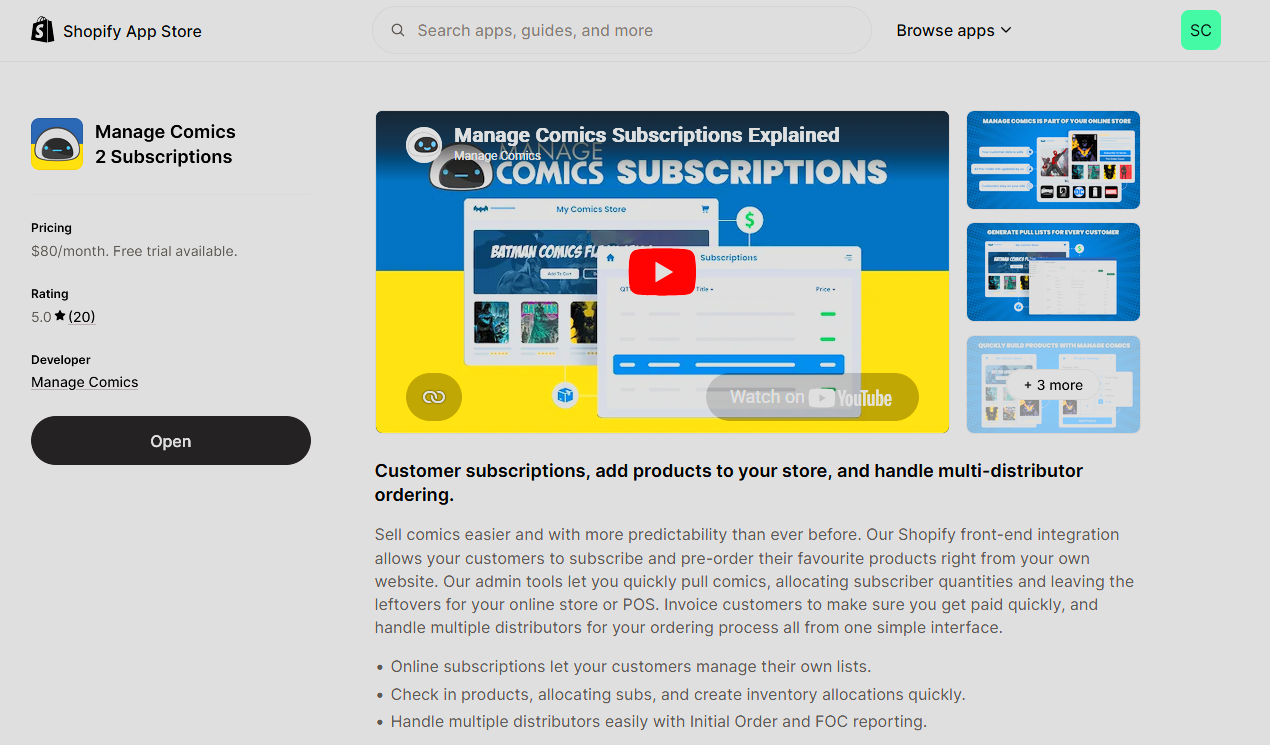
Search the Shopify App Store for "Manage Comics 2 Subscriptions" or simply click here.
Step 2 — Install the App
Click Install.
Shopify shows a permissions screen listing what the app can read and write (customers, products, orders, etc.). Review the list.
Click Install app to confirm.
Shopify redirects you into Manage Comics. This is the first time the app runs against your store, so it takes a minute or two to bootstrap.
Step 3 — Accept Terms of Service
Manage Comics will show you a Terms of Service screen on first launch. Read it, then click I Accept.
Step 4 — Set Your Default Shop Info
On the first run, you'll be prompted to confirm:
Shop name (pre-filled from Shopify)
Primary contact email
Time zone (critical for FOC deadline accuracy — double-check this)
Click Save.
Step 5 — Install the App Embed
The Manage Comics App Embed is a small piece of theme code that surfaces the customer-facing subscription interface on your storefront. Without it, customers can't access their pull lists from your website.
See Add the Manage Comics App Embed for the full walkthrough. You can install the Embed now or later — it won't affect the rest of the setup, but your storefront won't show subscription UI until you do.
Step 6 — Add Menu Item
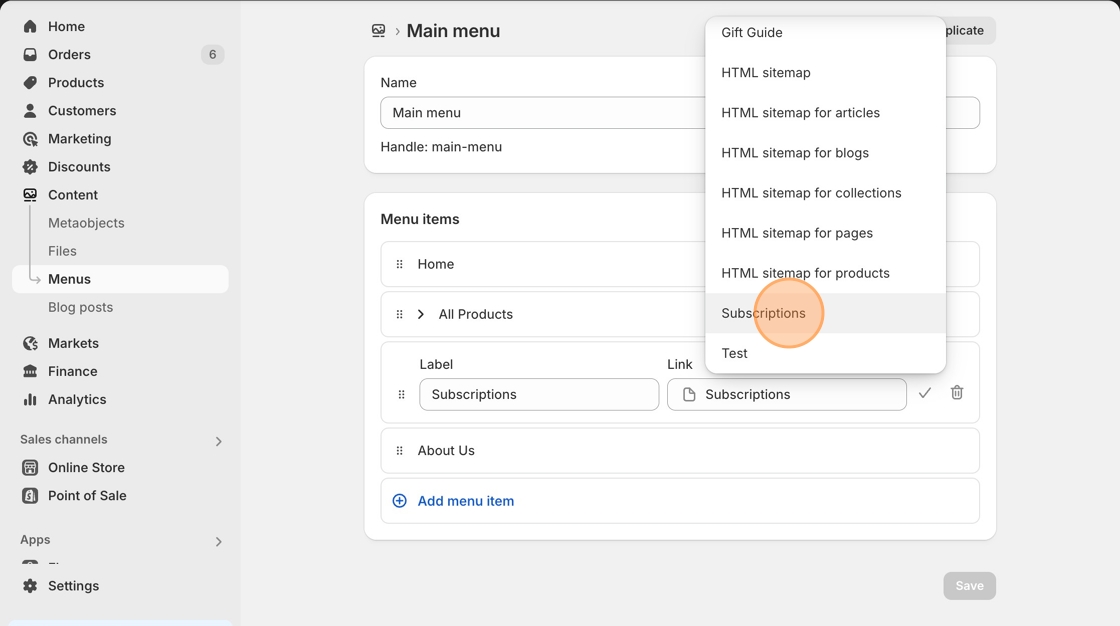
Manage Comics publishes a customer-facing page (the Subscriptions page) on your storefront. For customers to find it, link it from your navigation. Add it in two places: the Main Menu and the Customer Account menu.
Main Menu:
In the Shopify admin, go to Content → Menus.
Open Main menu.
Click Add menu item.
Name it something customers recognize — common choices: Subscriptions, Pull List, My Comics.
Click the Link field, choose Pages, and select Subscriptions.
Click Save.
Customer Account menu (so logged-in customers can reach it from their account):
Go to Content → Menus and open Customer account main menu.
Click Add menu item.
Click the Link field, choose Pages, and select Subscriptions.
Click Save.
See Add Manage Comics Menu Navigation for the full walkthrough.
Step 7 — Confirm the Install Worked
Back in the Shopify admin:
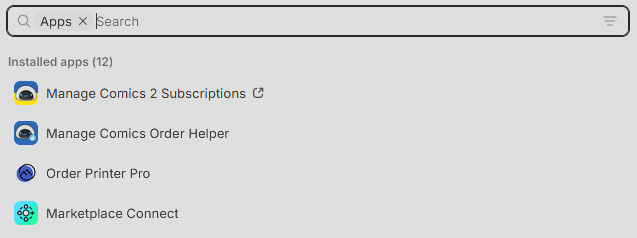
Click Apps in the left sidebar.
Confirm Manage Comics (or Manage Comics Subscriptions) appears.
Click into it — you should land on the Manage Comics dashboard.
After Install
Walk through the Quickstart Checklist Ordo section to configure store settings and import your data.
If anything looks wrong after install — missing apps, broken links, error messages — email help@managecomics.com with a screenshot and your shop's myshopify.com URL.
Uninstalling
If you need to remove Manage Comics — either because you're switching to Oryx or closing the shop — uninstall through Shopify's standard app management:
Apps → App Settings.
Find Manage Comics in the list.
Click the three dots menu to the right of the app.
Click Uninstall.
Shopify removes the app and revokes its permissions. Your customer and product data in Shopify remains intact; only the Manage Comics-specific data (subscription records, pull lists) is lost. If you think you might reinstall later, export your subscription data first.