
By default, Manage Comics will appear on your site, but you may want to fine tune its appearance.
While we've attempted to make Manage Comics work for every site, sometimes you need to make small changes to make it work better with your particular site.
To get started Creating a custom Template for your Subscription Pages, Navigate to sales channels, Online store and themes in your Shopify navigation.
Step 1: Click Edit Theme
In this example we are going to use the dawn theme.
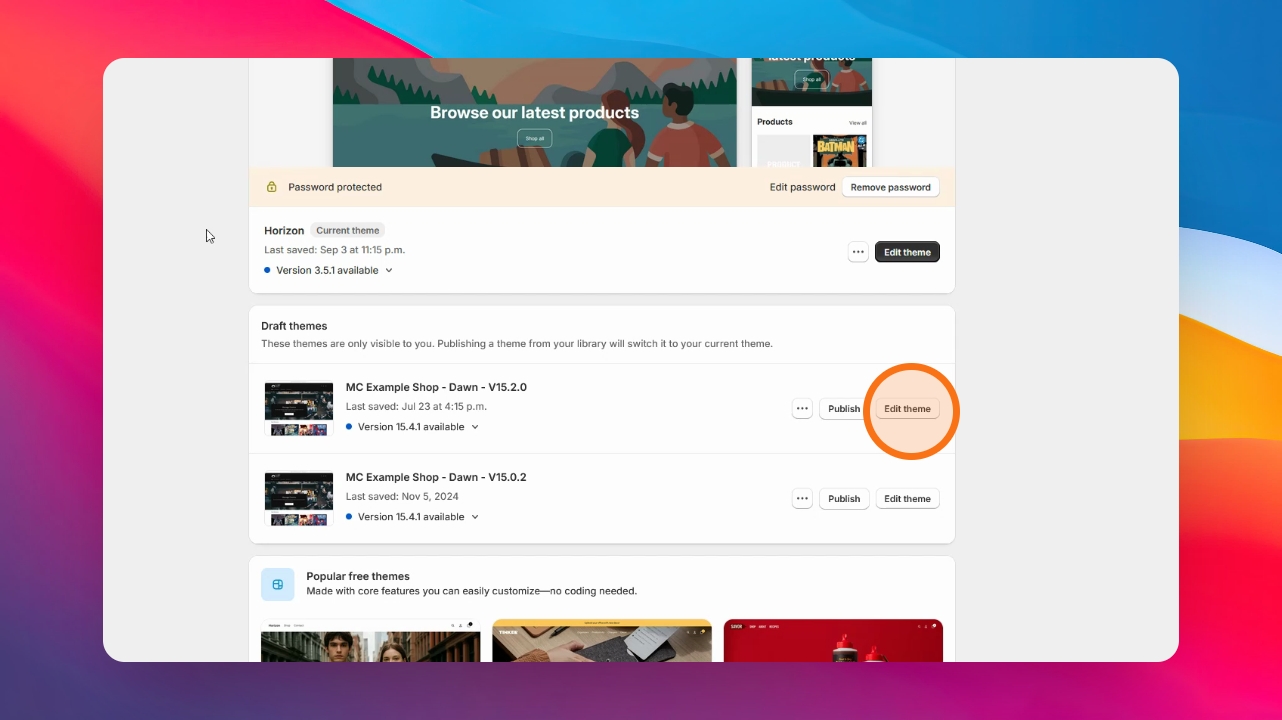
Step 2: Edit Theme
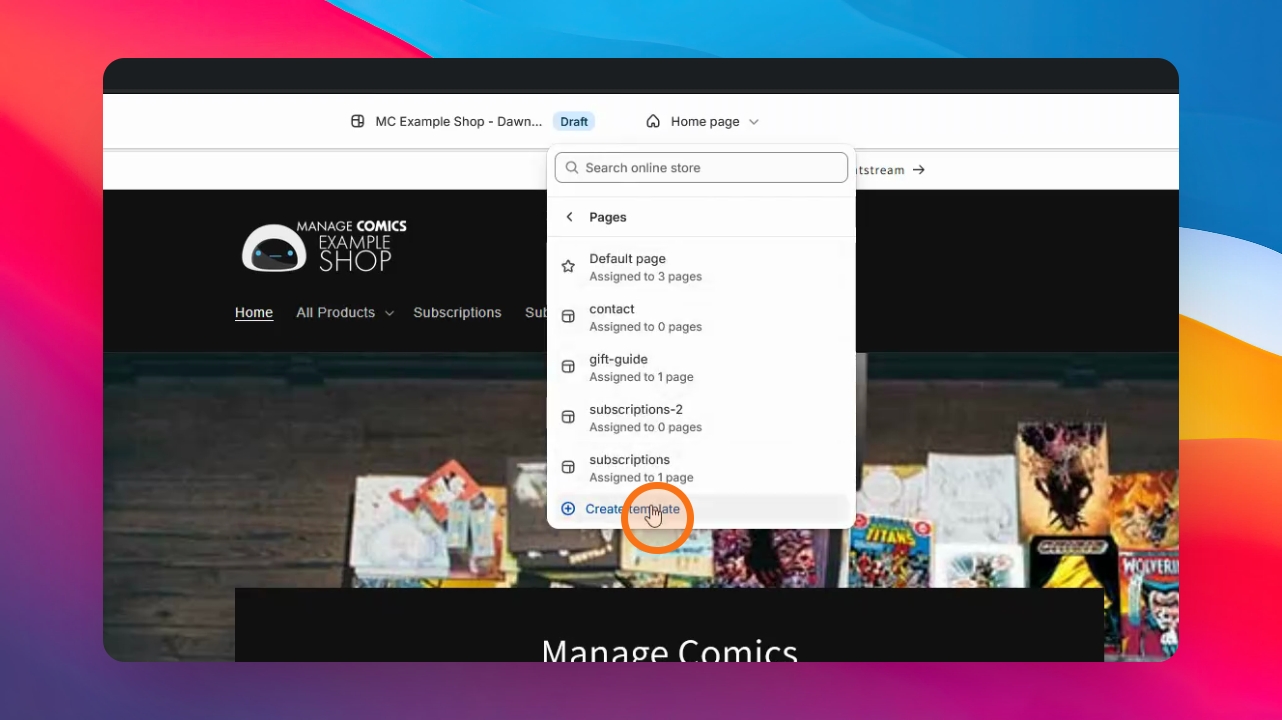
Click Edit Theme in the top of the theme customizer, then click on Homepage Pages and Create Template.
Name the new template Subscriptions.
Step 3: Customize Template
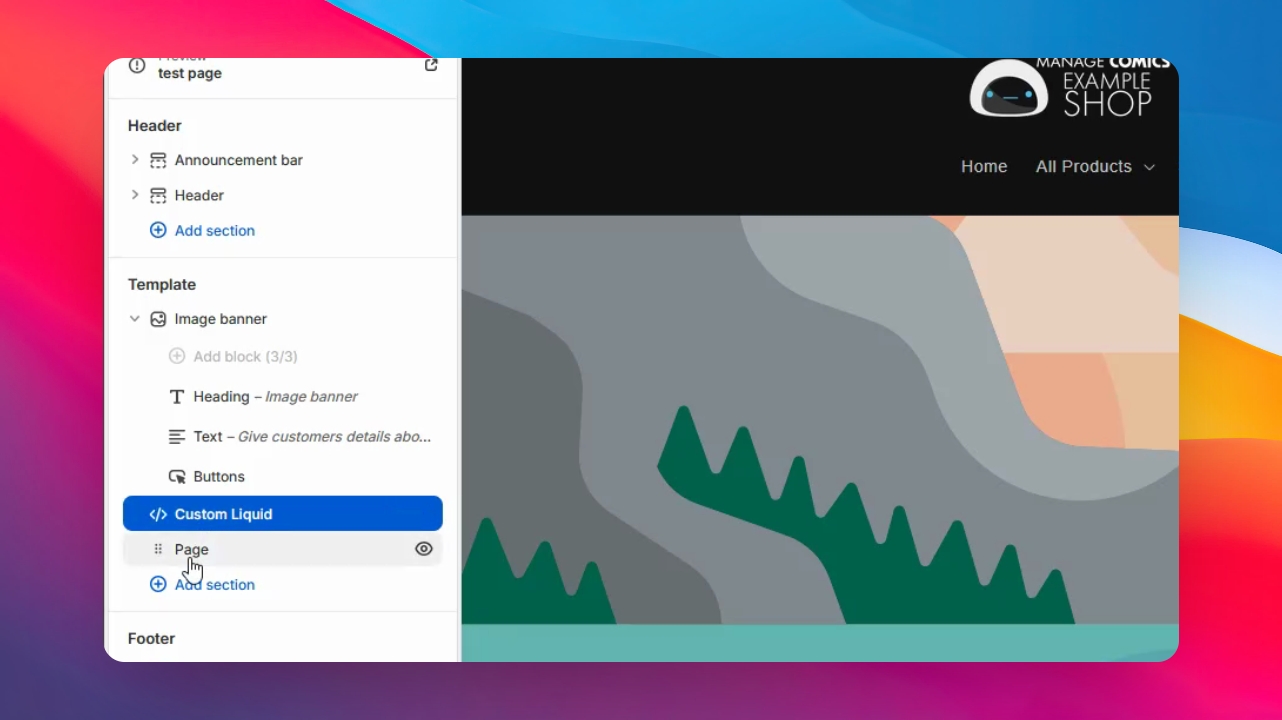
In this new template we are going to add an Image banner, Custom Liquid and make sure the Page does not have the eyeball turned off first.
Under template, click Add Section, select Image Banner, and add a second section for Custom Liquid.
In the Image banner, delete the text line and the buttons.
Importantly, reorder the sections so Image Banner is at the top, Custom Liquid is in the middle, and Page is at the bottom.
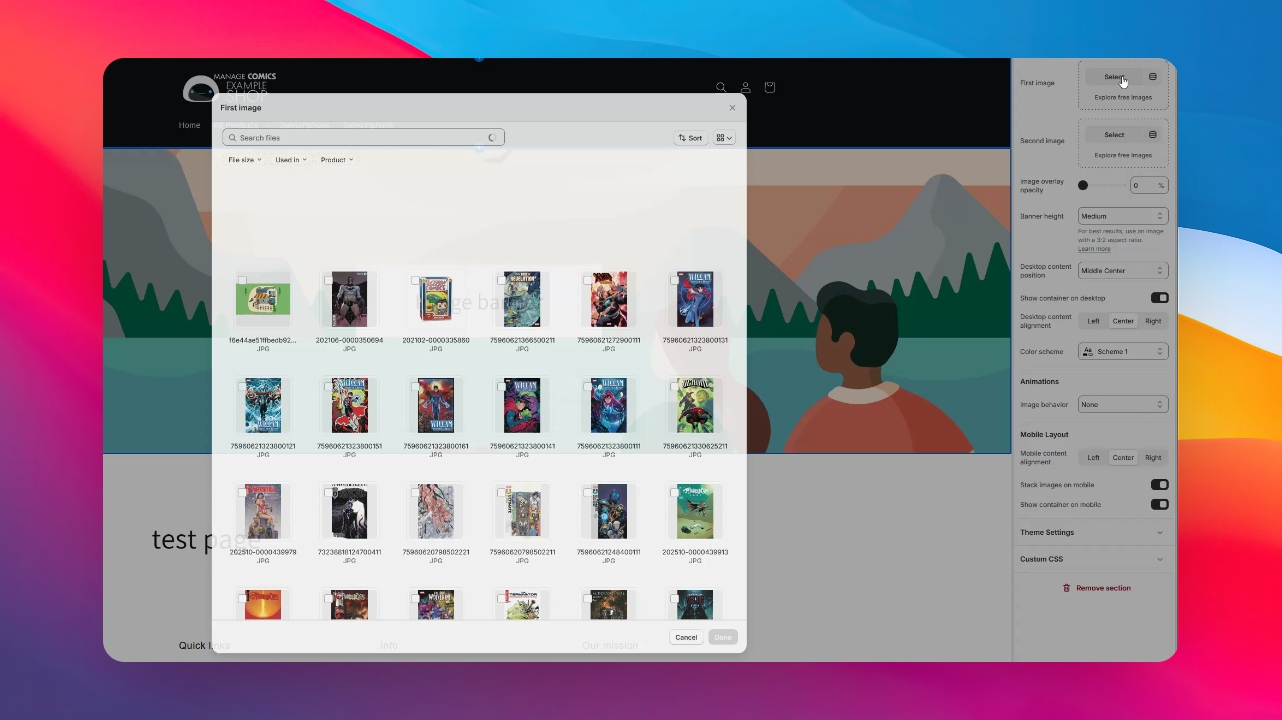
Step 4: Edit Image Banner
Choose an image by selecting and uploading the image you want to use.
Adjust the height as needed.
You can change the color scheme to match whatever is on your site.
Step 5: Name the Page
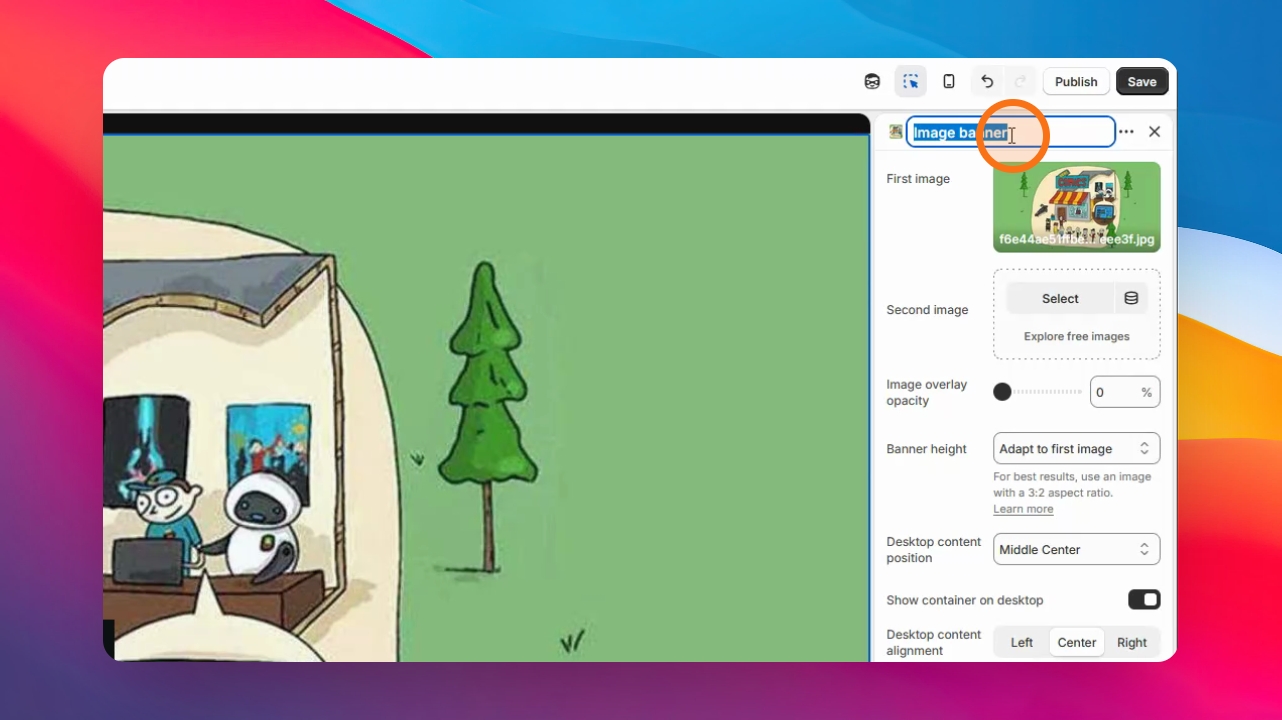
Click on the word Image banner on the top right.
Type in Subscriptions, Pull Box, Hold system, or whatever you want to call this page.
Step 6: Enter Custom Code
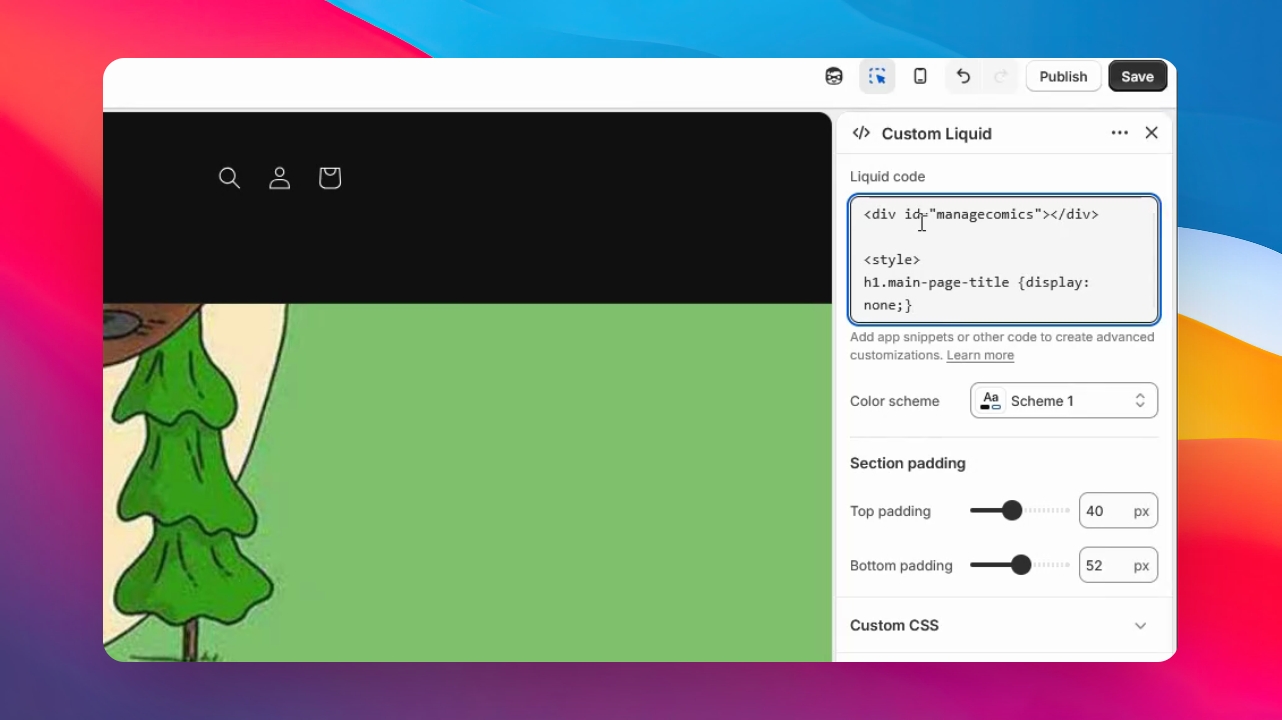
Next, click on Custom Liquid and enter the following code in the text box.
JavaScript<div id="managecomics"></div>

<style>
h1.main-page-title {display:
none;}
Then click Save.
Step 7: Finalize Settings
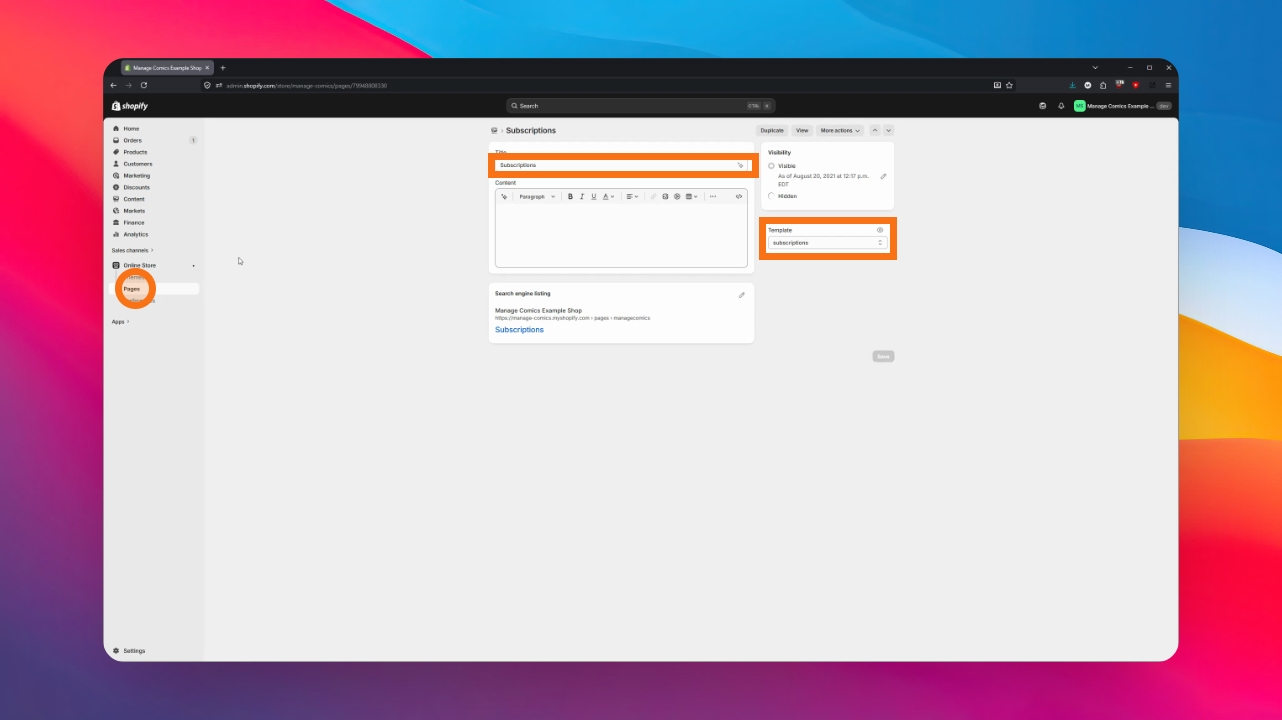
Go back into Shopify Admin, navigate to Sales channels > Online Store > Pages > Subscriptions Page.
Importantly, do not edit the content of this page as it will break a number of related things.
Change the template to Subscriptions and save your work.